Starting out with the ASP.NET Core React template (part 3 - Separating out the frontend)
So now we know our way round the front end part of a new React + Web API project, and the Web API part.
But we left the last post on a bit of a cliffhanger.
We saw how you can choose to launch the React part of the application separately (running on its own port and not tied in with rebuilds of your C# API).
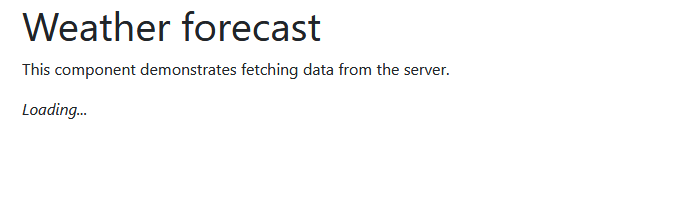
But, if you try this, launch the application and try to access the “Weather” page, you’ll just see the Loading… indicator and no actual data.
Broken URLs#
So what’s going on?
Well, now the React frontend is running on localhost:3000, it’s phsyically separated from your ASP.NET Core Web API.
So, the code in FetchData.js is broken…
fetch('api/SampleData/WeatherForecasts') .then(response => response.json()) .then(data => { this.setState({ forecasts: data, loading: false }); });Fetch is going to assume:
api/SampleData/WeatherForecasts
is located at:
http://localhost:3000/api/SampleData/WeatherForecasts
which is, of course, wrong.
What we actually want to do is hit our API server running on another port (40512 in my case; check Properties/launchSettings.json to discover yours).
To fix this we could just manually include the correct address in the fetch call…
fetch('http://localhost:40512/api/SampleData/WeatherForecasts') .then(response => response.json()) .then(data => { this.setState({ forecasts: data, loading: false }); });But we could be making a lot of these network calls and it’s not ideal to have to include that first part of the URL in every case (not least because we might change it at some point during development, and definitely when we go live).
A better way is to define that URL once and use it everywhere; something we can do quite easily using that .env file we added last time.
Currently it looks like this…
BROWSER=noneBut we can add anything we like to it.
Let’s add our API URL…
BROWSER=noneREACT_APP_API_URL=http://localhost:40512To be able to retrieve this value in our React (javascript) code it needs to be prefixed with REACT_APP. Now we can retrieve this code whenever we need it like so…
process.env.REACT_APP_API_URLSo, a little string interpolation later and we end up with this…
fetch(`${process.env.REACT_APP_API_URL}/api/SampleData/WeatherForecasts`) .then(response => response.json()) .then(data => { this.setState({ forecasts: data, loading: false }); });Notice the “not quite apostrophe” in there, the backtick at the beginning and end of the url string?
That allows us to use javascript’s template literals to interpolate expressions in your strings.
So in this case we’ll get the value of REACT_APP_API_URL pre-pended to the rest of our string.
Changing the URL in production#
So far so good but we probably don’t want to use localhost in production. To use different settings in different environments we can define more than one .env file.
So in this case, if we define an .env.development file and put our localhost URL in there, we can put the actual, production, API address in .env.
That way we should end up with the correct API urls for both development and prod.
.env
REACT_APP_API_URL=https://API.YourDomainHere.io.env.development
REACT_APP_API_URL=http://localhost:40512Watch out for CORS#
The final thing you’ll probably run into when you run your app in production is CORS.
As soon as you have your frontend and API applications running on different URLs, CORS is likely to raise its head and demand your attention!
If you see an error indicating that a Cross-Origin request was blocked, chances are you’ve run into CORS.
CORS exists to stop random code running in the browser from making requests to your API, but it has a nasty habit of cropping up when you try and access your API from your own applications as well.
Happily, you can easily configure ASP.NET Core with a CORS policy which allows your application through to your API,
Check out this article for more details on CORS and my handy CORS code generator to get the code you need to fix the problem.