Diary Of A Net Developer - Learning React
React you say?#
When Angular 1 first appeared on the scene it felt like a breath of fresh air.
Suddenly scenarios that were nigh on impossible using MVC (with a sprinkling of AJAX) were achievable; all you really had to do was reference the Angular script on your web pages and you were good to go.
Fast forward a few years and the javascript/front-end ecosystem has exploded.
Webpack, Typescript, React, Angular (what version is it now? 6?), Babel, Jasmine, Karma…
The list goes on and on.
And therein lies the problem.
If you’re a C#/ASP.NET developer looking to dip your toe in these choppy waters then you’re faced with an insurmountable mountain of choices and a learning curve that looks suspiciously like a brick wall.
Building something real#
We’ve just started a new project at my work and after some experiments with different SPAs we’ve settled on React (using Typescript) for our next couple of projects.
My aim here is to simply document some of the key things we’re picking up as we go along, in the hope it might help others following in our footsteps.
We ended up choosing React for three important reasons.
- There is a large community to turn to for advice/articles and learning resources
- It’s easy to get started and build something without having to learn some of the peripheral details (like WebPack) from day one
- You can build your app using Typescript, we’ve found the safety that comes from “compile-time” warnings and errors in VS Code invaluable as we fumble our way through these unknown waters
Create React App#
The project we’re working on already has a fully-functional API so we’re just building a front-end. For that reason the front-end project doesn’t need to be an ASP.NET Core project.
NOTE
If you’re planning on running React and ASP.NET Core Web API in the same project then you’d probably want to use the Microsoft template that lets you spin up just such a project.
So brushing aside ASP.NET Core means we can start off with a straight React project and then make API calls to our existing ASP.NET Core Web API.
There’s a handy project called Create React App which will take care of most details for you and give you a simpler starting point for your project. It hides some of the details like WebPack away whilst you get started but leaves you free to get into those particular weeds at a later date if you really need/want to.
We elected to use the Typescript version.
So long as you’ve got a recent version of Node and Yarn installed (you can use NPM or Yarn, they are interchangeable) you can install create-react-app using this command.
yarn global add create-react-appThis downloads the create-react-app dependency to a global directory on your machine so you can use it in any command prompt (irrespective of which folder you’re currently in).
Once yarn’s done its thing you can create a new React Typescript app with this command…
create-react-app your-app-name --scripts-version=react-scripts-tsThen change directory and use yarn to start the app…
cd your-app-nameyarn startIf all goes well you’ll see something like this…
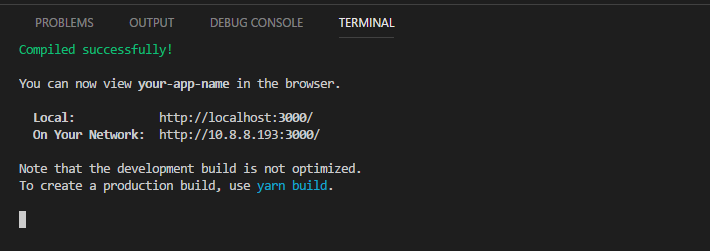
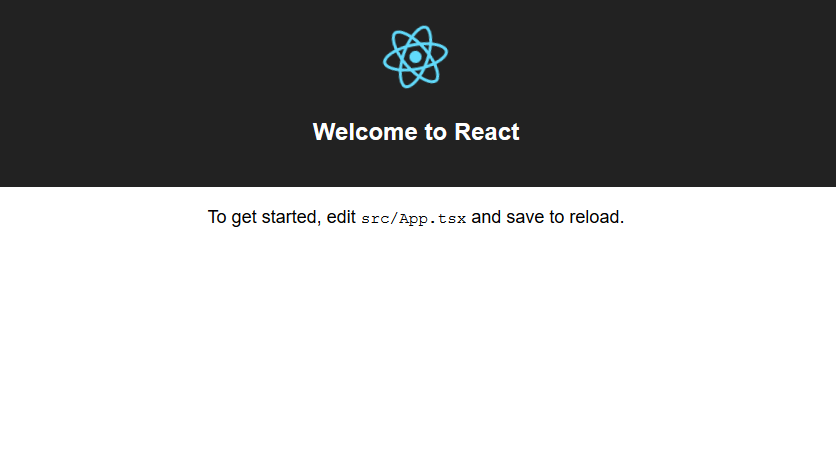
And this should appear in your browser.
If you’ve tried creating any front-end apps recently (Angular, Aurelia etc.) then you’re probably used to seeing starter projects looking pretty bloated from the get go.
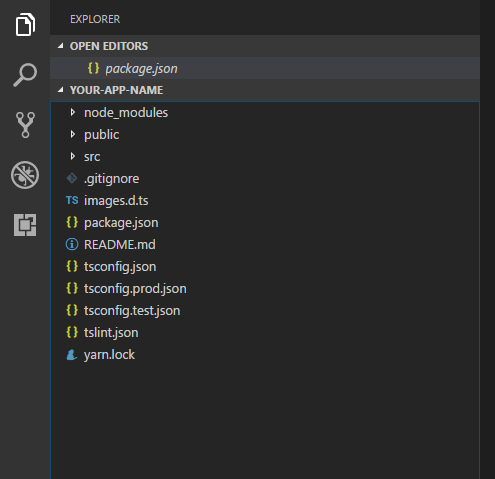
By those standards this is relatively lean…
A first component#
Keen to crack on from this point we eagerly set about building our first component.
NOTE
Before we started working on the actual project we did a bit of research and actually found the getting started tutorial over at reactjs.org to be really helpful to get some of the basic concepts in our minds before we started for real.
For our project we needed to build a simple list component, something like this.
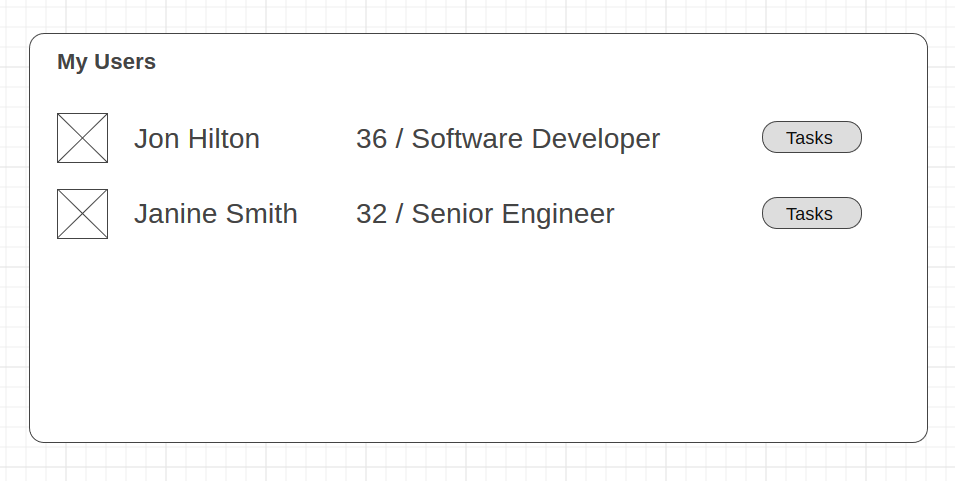
I’ve changed the details of what we were actually building so as to protect our client but this matches the structure of what we were aiming for.
So where to start?
Everything in a fresh create-react-app starts at the very top of the app, in src/index.tsx where we find this code.
ReactDOM.render( <App />, document.getElementById('root') as HTMLElement);This instructs React to render the App component in an element on our page (#root).
To get going quickly we decided to ignore the existing App component referenced here (which simply renders the “Welcome to React” page we saw earlier) and create our own.
The “React” way to build applications is using components. With that in mind we took another look at our mockup and identified the key parts that might warrant their own component.
We settled on these components…
- My Users (the parent component)
- User Details Row
- Avatar (the image on each row)
- Tasks Button (the button on each row)
So we’d render the “My Users” component, which in turn would render one or more “User Details Rows” which would also include the Avatar and Tasks Button components.
Starting at the top we created this “My Users” component.
src\MyUsers.tsx
import * as React from "react";
export default class MyUsers extends React.Component<any, any>{    public render() {        return (            <div>                <h1>My Users</h1>                <div>                    Each row to go here...                </div>            </div>        );    }}
This is about as simple as we could get for starters.
By extending React.Component we get to create a render method which then renders the relevant markup for our component.
NOTE
That funny looking “html” in the javascript is actually a kind of XML syntax (called JSX) which React then converts to javascript under the hood. In case you’re interested, the underlying javascript looks like this…
return React.createElement( "div", null, React.createElement( "h1", null, "My Users" ), React.createElement( "div", null, "Each row to go here..." ));But in truth you generally don’t need to worry about that and can stick to the handy JSX code above.
With that component in place we just needed to render it.
src\Index.tsx
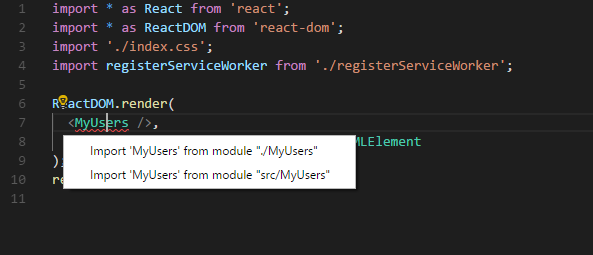
import MyUsers from './MyUsers';
ReactDOM.render(  <MyUsers />,  document.getElementById('root') as HTMLElement);
Gone is the reference to App and in its place is our MyUsers component.
NOTE
Handy Tip
If you’re using Visual Studio Code to work on your React App…
When you reference something like MyUsers (see above) without bringing in a reference, VS Code will prompt you (with the lightbulb icon).
Select one of the options to automatically add the reference.
Because we ran yarn start earlier, the changes to the app were automatically reflected in the browser meaning we could now review our work.
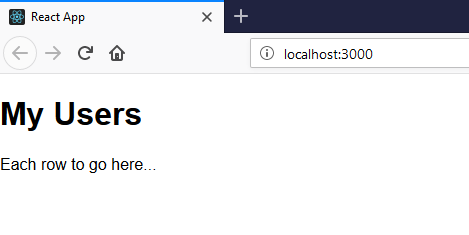
Granted we’re not winning any design awards for this one but it’s a solid start.
Next time I’ll cover how we built up the next few components and started plugging in some (initially fake) data.
Note, this depiction of events is not entirely accurate; sequences shortened and cursing omitted ;-)
All posts in Learning to use React with ASP.NET Core Web API
- Diary Of A Net Developer - Learning React
- Learning React - Building up the user interface using components and dummy data
- Learning React - How to connect React components to your ASP.NET Core Web API
- Learning React - Exercise control over your component state with Typescript
- Cross-Origin Request Blocked
Your skills aren't becoming obsolete. They're becoming essential.
Practical engineering principles for building software that works - with or without AI.