Learning React - How to connect React components to your ASP.NET Core Web API
Our first foray into React.JS was going pretty well.
We’d decided to learn React, started with some basic UI component building and it was going surprisingly smoothly.
The first few things we’d tried had actually worked! The UI was coming together. I was beginning to feel like da boss!
Then the inevitable happened, we slammed right into the bit where the docs effectively say “now you’re on your own”.
We needed to hook our fledgling front-end component up to some real data coming from an ASP.NET Core Web API.
Unsurprisingly there’s no specific advice on how to do this in the React docs (makes sense really, React will work with any backend API and it’s not their place to go into specifics).
The good news? After a bit of arm-waving and failed experiments we found the simplest way to get this working but first we had to understand a bit about how React handles state.
Where to get the data?#
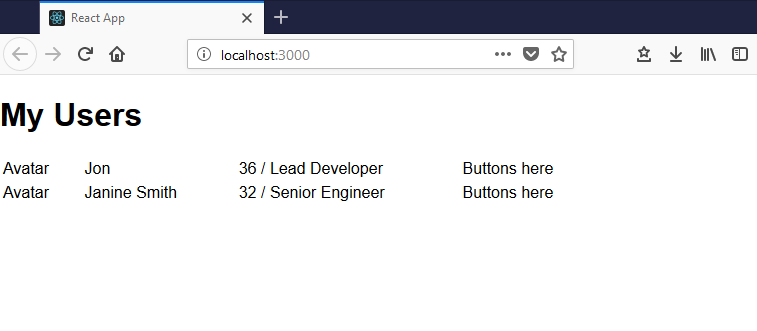
This is where we’d got to…

A bit rudimentary but it displays the data we need.
The problem is the somewhat static nature of this data…
private getUserData() { return [ { id: 1, name: 'Jon', summary: '36 / Lead Developer' }, { id: 2, name: 'Janine Smith', summary: '32 / Senior Engineer' } ];}We needed to swap this out with a call to our API.
Remember our render function looked like this…
public render() { return ( <div> <h1>My Users</h1> <table className="user-list"> <tbody> {this.getUserData().map(user => <UserRow key={user.id} user={user} />)} </tbody> </table> </div> );}React invokes render when this component is first loaded (and at other times, to do with state changing etc. which we’ll come on to).
Our render method would make the call to getUserData and then render a UserRow for each user.
So, naively, we could just update getUserData to make an AJAX call right?
private getUserData() { // ajax call to get data // return the data}This would probably work, but it kind of goes against the ethos of React.
The more we’ve worked with React the more we’ve really start to appreciate the declarative way of building components.
The idea is that you build a user interface that reacts (yes, really) to state changes in your component.
So instead of making a call to get data directly from the render method, the React approach would be to make the Ajax call at some point during the lifecycle of the component, update our component’s state and have the UI automatically update to reflect that changed state.

Any time we modify this state, the UI should automatically reflect to show the new data.
Legacy .NET web apps causing you grief?
Build modern, reliable web applications, faster with .NET and Blazor.
Build better .NET web appsRendering state#
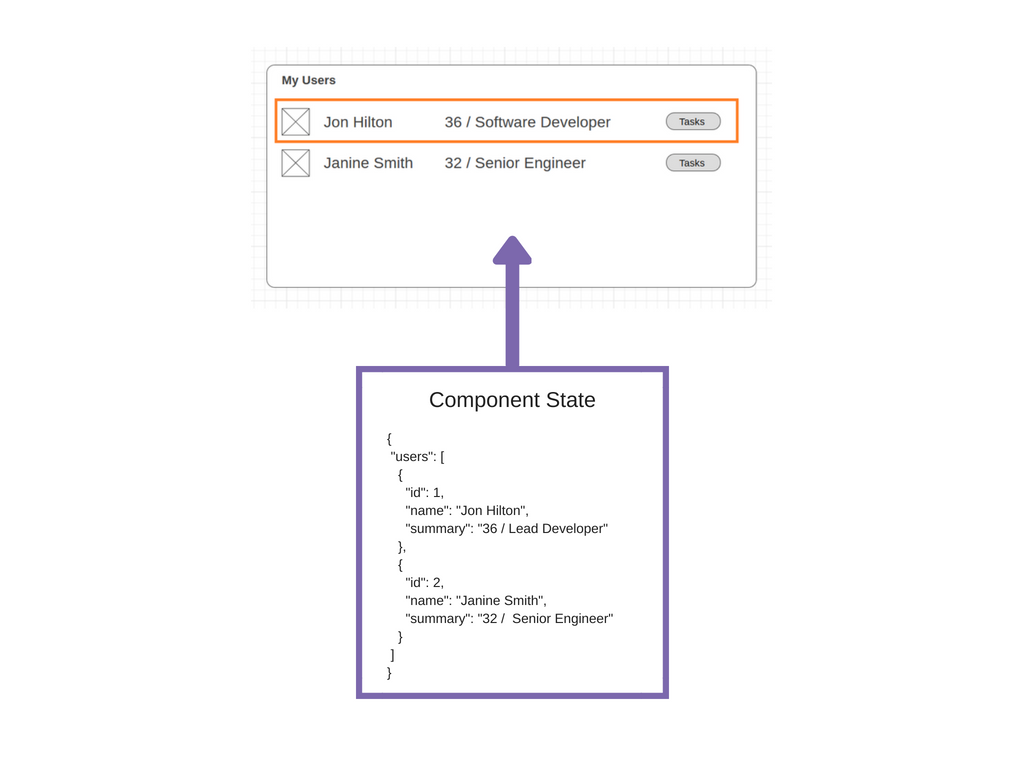
To declare initial state (the state your component will use from the get-go, before making any AJAX calls) you can simply declare it like so…
export default class MyUsers extends React.Component<any, any>{
    public state = {        "users": [            { "id": 1, "name": "Jon Hilton", "summary": "36 / Lead Developer" },            { "id": 2, "name": "Janine Smith", "summary": "32 /  Senior Engineer" }        ]    };
    // rest of class omitted}
In effect, we’ve just moved the hard-coded data to React State.
Now we can do away with our getUserData call and bind to the state instead…
public render() { return ( <div> <h1>My Users</h1> <table className="user-list"> <tbody> {this.state.users.map(user => <UserRow key={user.id} user={user} />)} </tbody> </table> </div> );}The reference to this.state.users makes the magic happen. Now whenever that state changes, the relevant parts of the user interface will be updated automatically.
The AJAX Call#
Which leaves us with the last part of the puzzle. Where/when and how to wire up the component to our API.

The react docs point us in the right direction…

ComponentDidMount is automatically invoked by React when the component has loaded. We can make our ajax call in here.
public async componentDidMount() { const result = await fetch('https://localhost:44348/api/user'); const users = await result.json(); this.setState({ users });}Fetch is available “out of the box” with modern browsers and React makes sure it will work in older browsers by employing a polyfill (other ajax libraries are available).
Incidentally the following are equivalent.
this.setState({ users })
this.setState({ users:users })
You don’t have to specify the name of the property (‘users’) if it’s the same as the name of the variable.
NOTE
Async/Await
Javascript (and Typescript) support the async/await pattern.
In this case this means the const users line won’t be invoked until a response has come back from the await fetch() call.
Under the hood fetch is actually returning a promise. If you’d rather not use async/await you can always just interact with the promise directly.
public componentDidMount() { fetch('https://localhost:44348/api/user') .then(res => res.json()) .then(users => this.setState({ users }) );}The API method#
That’s it, the component will now be rendered using the data returned from the API call.
For this code to work the names of the properties returned in the API call must match the names you’re using in the javascript.
Here’s a rough example of an API that would work here.
using System.Collections.Generic;using Microsoft.AspNetCore.Mvc;
namespace UsersAPI.Controllers{    [Route("api/[controller]")]    [ApiController]    public class UserController : ControllerBase    {        [HttpGet]        public ActionResult<IEnumerable<User>> List()        {            // in real life - retrieve from database            var users = new List<User>{                new User {                    Id = 1,                    Name = "Jon Hilton",                    Summary = "36 / Lead Software Developer" }            };
            return Ok(users);        }    }
    public class User    {        public int Id { get; set; }        public string Name { get; set; }        public string Summary { get; set; }    }}
And here’s what the response looks like in the browser (note ASP.NET returns the data using camel case property names, which matches the case we used in the React component).

Next steps#
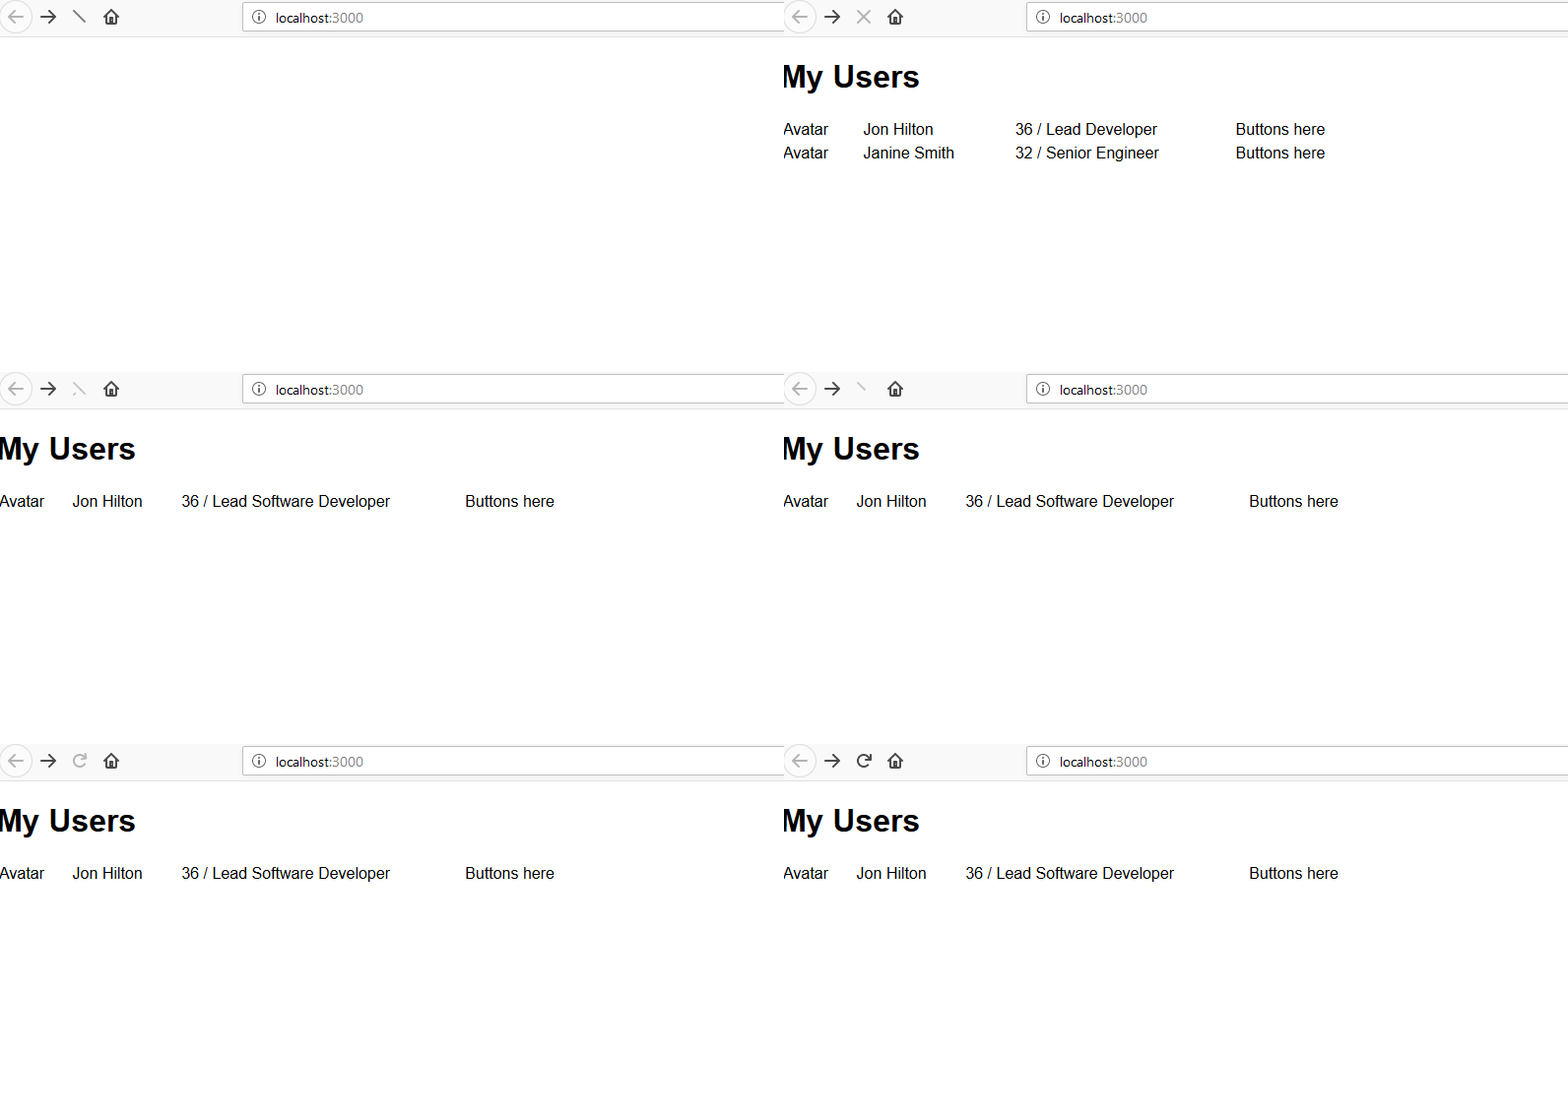
This all works, but there’s a strange side-effect of having that initial hard-coded state at the top of the React component.
public state = { "users": [ { "id": 1, "name": "Jon Hilton", "summary": "36 / Lead Developer" }, { "id": 2, "name": "Janine Smith", "summary": "32 / Senior Engineer" } ]};Looking at this in the browser we see this hardcoded data before the “real” data loads in from the API.

The next post will look at how we removed this initial data and made better use of Typescript to specify the structure of the data returned from the API.
All posts in Learning to use React with ASP.NET Core Web API
- Diary Of A Net Developer - Learning React
- Learning React - Building up the user interface using components and dummy data
- Learning React - How to connect React components to your ASP.NET Core Web API
- Learning React - Exercise control over your component state with Typescript
- Cross-Origin Request Blocked
Struggling to figure out what to focus on with Blazor?
BlazorSharp - The .NET Web Developers community is here to help!
- Connect with your fellow .NET web developers
- Keep up to date with the latest .NET changes
- Exchange tips, tools and tactics