Pre-S: Tomorrow I’m sharing news of a brand new live .NET 8 Blazor workshop I’m running in early October. If you’re interested in using .NET 8 to supercharge your Blazor web development you’re not going to want to miss it.
But now to today’s newsletter and this week I want to talk about Docker.
Now, before you rush to hit the delete button, give me a second to explain myself! :)
It goes without saying - if you’re building web apps, you need somewhere to deploy them.
.NET’s history is deeply rooted in the world of Windows, and in some ways this hasn’t changed all that much.
It’s still a viable option to publish your app’s files to a server and pay for the slice of hardware you get to use (plus all those expensive Windows licenses)
But, of course, the ‘Cloud’ has shaken the hosting world up in recent years.
Now you can throw your app at a cloud provider and let them figure out which machines to run it on.
But even then (and if you’ve deployed any apps to the big cloud players you’ll know this from experience) those hosting costs soon start ramping up.
So what’s the alternative?
A few years ago, I was working on the first version of https://practicaldotnet.io and needed somewhere to deploy it.
Azure was too expensive, I didn’t really want to pay for shared Windows hosting, but wasn’t sure what else to try.
Then I discovered a smaller web host called (and this name should have been a clue) Sloppy.
They have since gone out of business, but their USP at the time was that you could pull your app (as a docker file), and auto-deploy it in the click of a button.
Scaling, monitoring and configuration was all available in a simple interface.
Fast forward a few years and some prolonged downtime meant I found myself looking for alternative hosting (again).
After a short search I found an alternative, and within an hour or two had the entire app back up and running.
I’d also cut my costs from $50 per month to $5.
So why am I sharing all this?
Because since .NET 7 creating docker images from your app has become a lot easier. In fact, you can build and push an image for your app with one command.
And when you do, a whole new world of (affordable) hosting options awaits.
Read on to discover how you can generate a container image from your app (you don’t need a dockerfile) and how you can quickly deploy the resulting image to an affordable hosting provider.
Docker without the dockerfile#
I promised you one command to create an image from your Web App, so here it is.
In .NET 7 (or now .NET 8) you can create and push an image of your app with something like this:
dotnet publish --os linux --arch x64 -c Release -p:PublishProfile=DefaultContainer -p:ContainerRegistry=registry-1.docker.io -p:ContainerRepository=jonhilt/digitaloceandemoLet’s break this down.
The first few arguments are pretty standard, we’re publishing a Release build of the app and targeting x64 Linux as the target architecture.
The rest of the options control the process of building the container image.
PublishProfile is set to DefaultContainer - this instructs .NET to create a container image for the app.
ContainerRegistry indicates we want to use Dockerhub for this build (and push).
ContainerRepository indicates the image should be tagged as jonhilt/digitaloceandemo where jonhilt is the name of my DockerHub registry and digitaloceandemo is the name I want the resulting image to have.
With that, if I head over to Dockerhub, I see the image in all its glory.
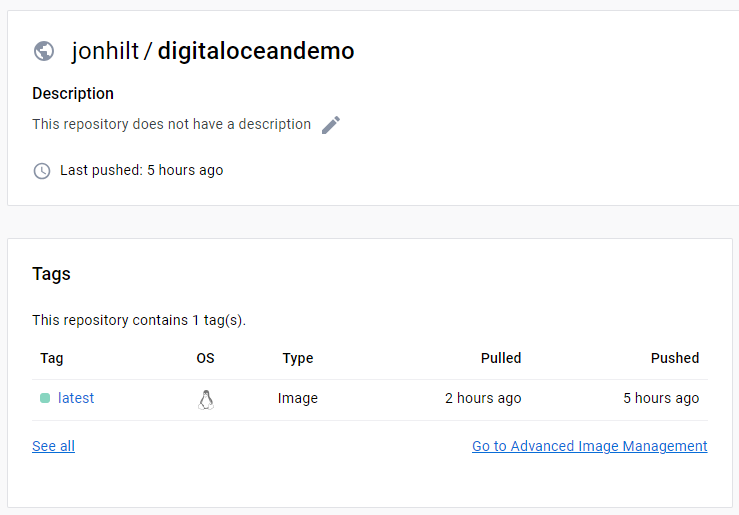
Note this is a public repository on a free DockerHub account. You can also have private repositories, which you probably would opt for unless you’re happy for random members of the public to download your web apps :)
Prerequisites#
OK, so it is one command but.. well there’s always a teeny tiny bit of setup right?
For this to work you will need to have an account at DockerHub.
You’ll choose a registry name as part of the setup process, to use in the command above
You’ll need Docker installed on your machine then you can authenticate with docker hub using the following command (you’ll be prompted for your username and password).
docker login registry-1.docker.ioSo now what?#
You’ve got an image, but what now?
There are numerous hosting providers who offer one-click Docker deploys at this point.
I’ve been using Digital Ocean’s App Platform for most of my production apps for the last 2 or so years, even running https://practicaldotnet.io on a $5 per month instance.
If you want to give Digital Ocean’s App Platform a try check out my step-by-step demo here.
In the meantime, for a super quick demo, here’s a handy service called Render.
You can follow along, even if you haven’t got your own image (you can deploy my test image for now to see how this works). You’ll just need to hit the Get Started button on their homepage and sign up for an account.
Once in, you’ll see a dashboard:
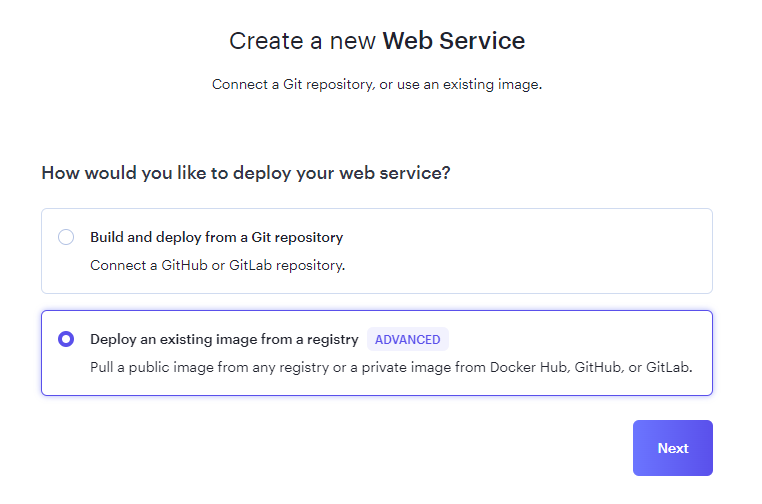
Click New then Web Service.
Select Deploy and existing image from a registry.
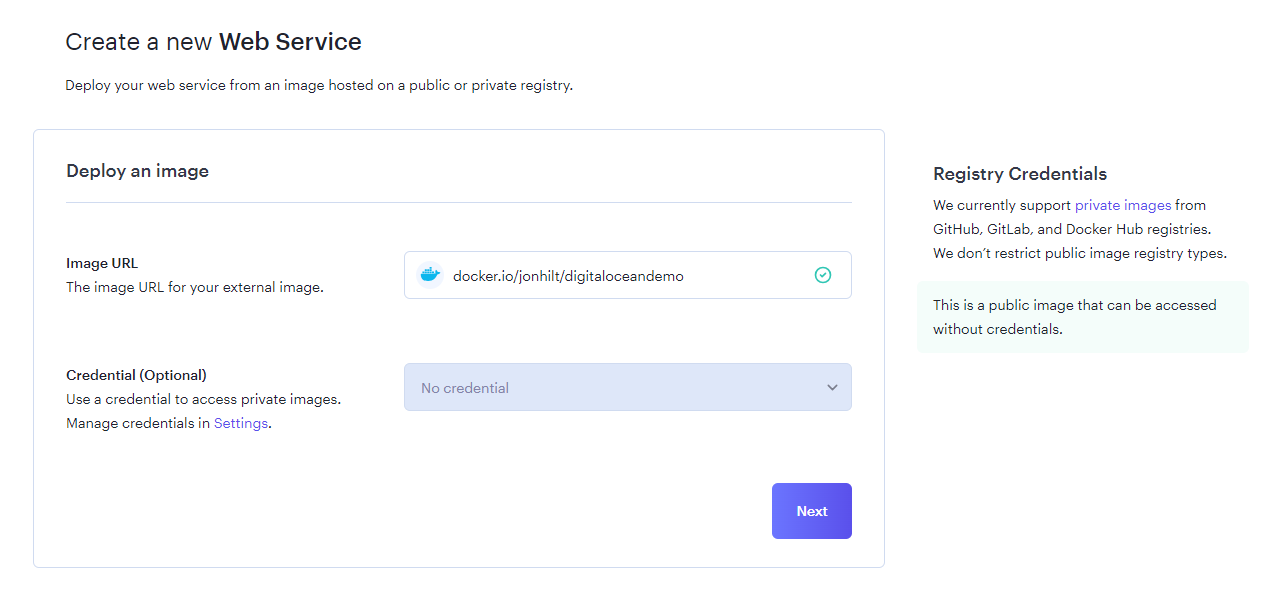
Then enter the path to the image (docker.io/jonhilt/digitaloceandemo in my example).
Click Next to choose a name and instance type (we’ll stick to the free one for now).
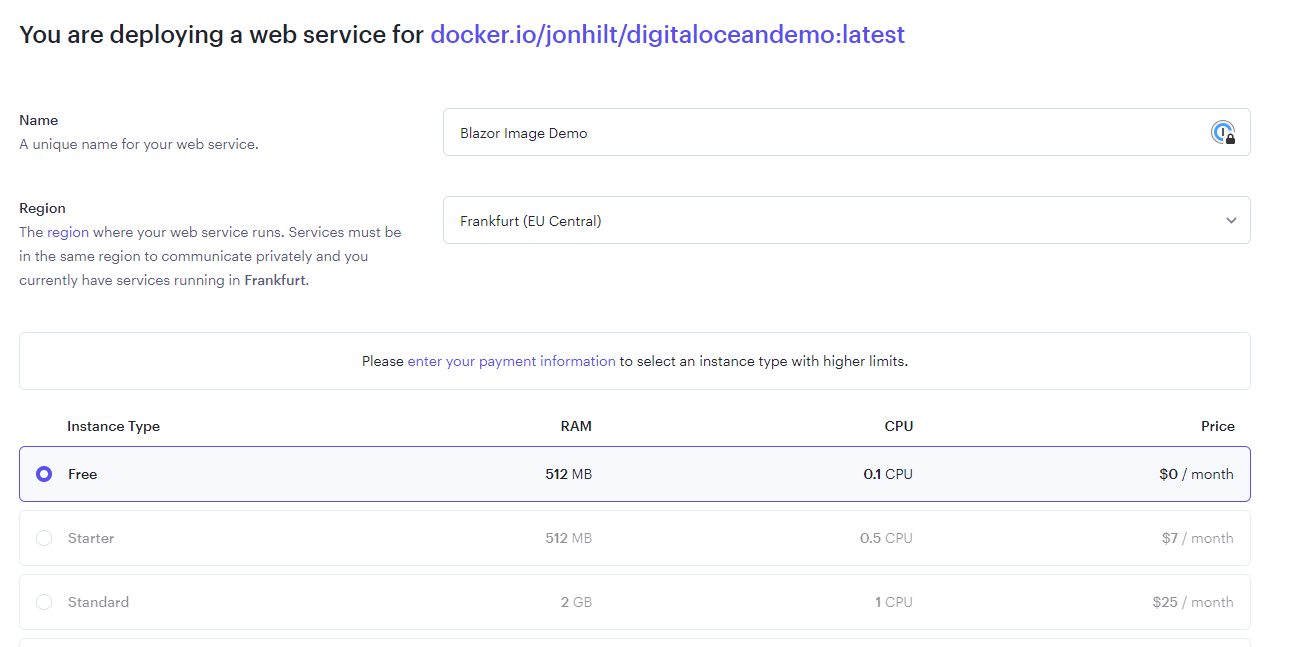
Finally, you can hit Create Web Service and you’re done.
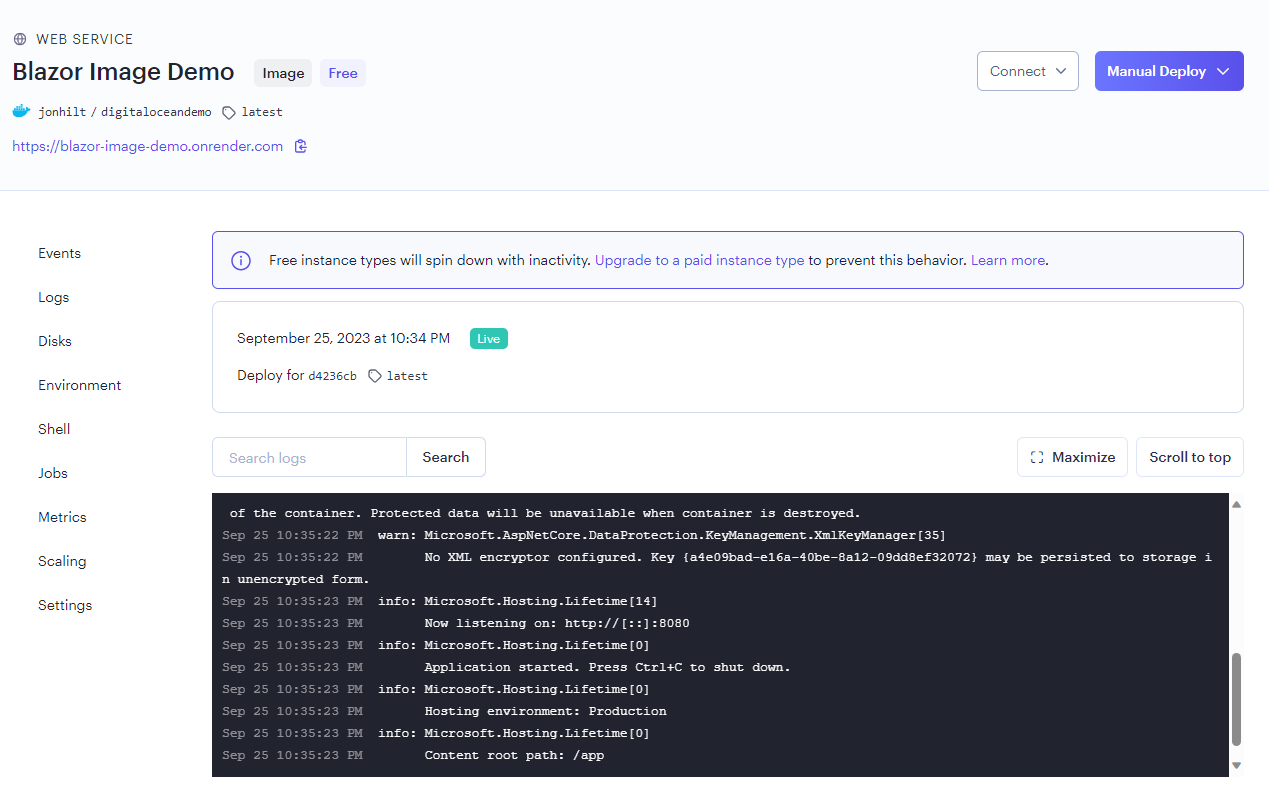
Give it a few moments to pull and start the image, and after a few seconds you should see a message indicating that your service is live.
At that point you can click the url (top left) and see your app in all its glory.
No silver bullet#
The learning curve for Docker has been a potential stumbling block when you just want to get your app to production, and containerisation itself is no silver bullet.
But the recent changes in .NET 7 (and now .NET 8) have made it much easier to publish images for your app.
And once you have an image, there are a number of hosts who offer one-click hosting, where you provide the URL to the image (and any necessary credentials for private repositories) and they take care of the rest.
To close this out, here are a few hosts worth checking out:
- Digital Ocean (specifically their App Platform) - from $5 per month
- Render - from $7 per month
- Kamatera - from $4 per month
Heads up - The link to Digital Ocean is a link that gives you $200 free (time limited) credit, and if you go on to use them, a small amount of credit for my account. Thanks for helping to support this blog and newsletter
Happy deploying, until next time!
— Jon
Your skills aren't becoming obsolete. They're becoming essential.
Practical engineering principles for building software that works - with or without AI.