Best way to spin up a React plus ASP.NET Core Web API Application?

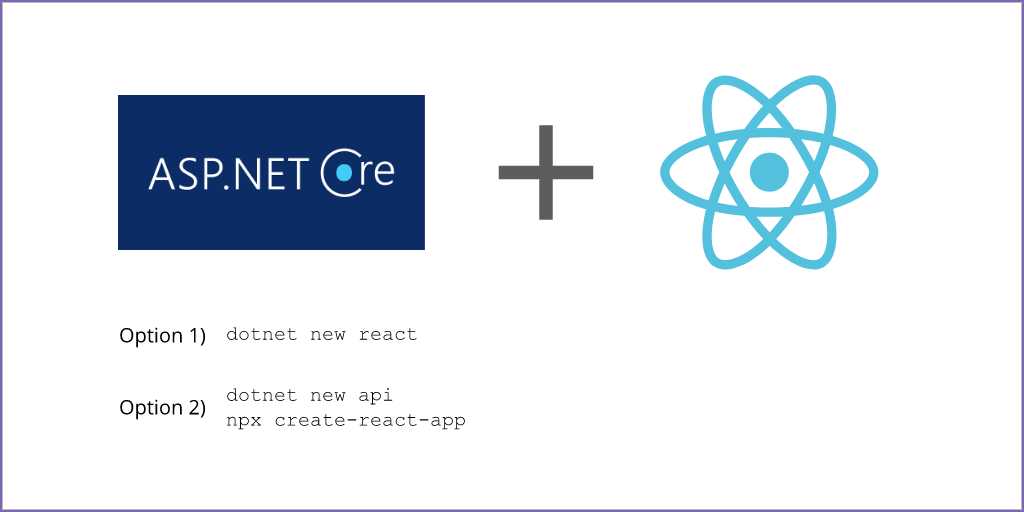
Looking to create a React front-end with an ASP.NET Core back-end? You have two clear options.
- Use the dotnet React templates
- Spin up separate projects for front-end and back-end
Option 1 (dotnet React templates)#
This option will create a single project containing both the Web API back-end and React front-end.
All it takes is a simple command.
dotnet new react(Or you can achieve the same result using Visual Studio).
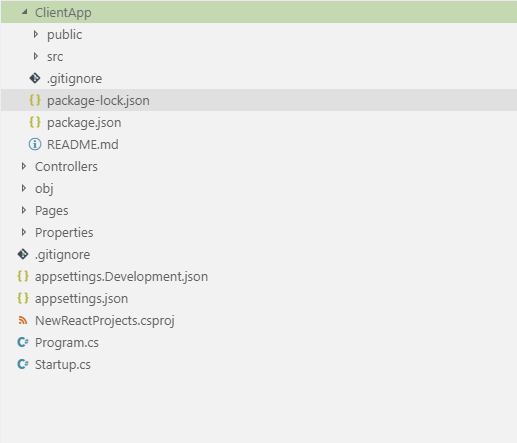
So long as you’re using the latest version of the templates and targeting ASP.NET Core 2.1 (or above) this will create a single project with two parts.
- A standard Create-React-App front-end (found in the ClientApp folder)
- A standard ASP.NET Core Web API

Pros#
- Probably the easiest option if you’re just starting out
- Less context-switching as you work on both parts of the app
- The front-end React part is “standard” (the same as any other React app created using the “Create React App” templates)
- The template includes some sample code showing one way to make back-end calls from the front-end application
Cons#
- Everything in one folder making it harder so separate the two parts of the application (for deployment etc.)
- Anyone wanting to work on either just the front-end or just the back-end will still have access to the other part of the application
Option 2 (separate React and Web API projects)#
This requires two steps.
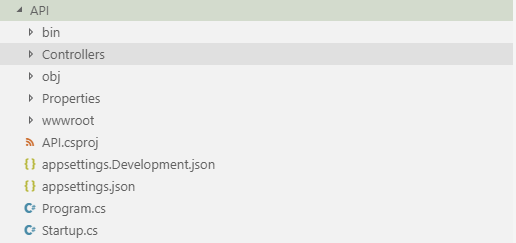
First spin up a new Web API project.
dotnet new api(or use the Visual Studio “new project” wizard).
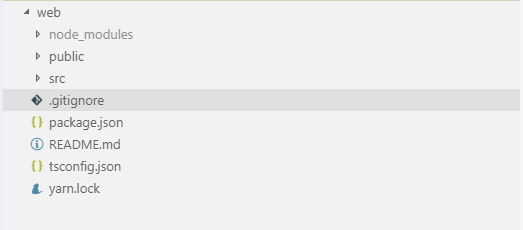
And separately create a React application.
npx create-react-app <app-name>Or if you fancy using Typescript…
npx create-react-app <app-name> --typescriptThis way you’ll end up with two separate projects, a Web API…

And separate React app (using Typescript in this case).

Pros#
- Separation of concerns
- Different people/teams can work on each part (front-end/back-end) without treading on each other’s toes
- You can specify Typescript when you spin up the React app
- Each part of the app can be deployed separately, stored in different Git repositories etc.
Cons#
- More context-switching if you’re building “full-stack” features (jumping between front-end/back-end)
- You’ll likely need to spin up two instances of your IDE/code editors to run the application (the other option runs both with CTRL+F5)
Really, they’re pretty similar#
Since MS adopted the official create-react-app templates for ASP.NET 2.1, the gap between the two options has shrunk quite a bit.
It really comes down to personal preference.
Either option is viable; the React app you end up with will be the same in either case.
In summary, it’s probably more important to pick one and get on with building your app than to spend too much time deciding between them!