Start with a new project#
We’re going to extend the new React + Web API project template, and build a really simple Twitter style app, using React.
We’ll keep our requirements dead simple so we can get something working, but also see how all the moving pieces fit together (and crucially, how to separate your UI and Business Logic concerns, so you can easily swap out the UI layer at a future date when we all decide to switch to Blazor ;-)).
Here are the two features we’re going to build:
- Show a list of tweets
- Post a new tweet
See? I said we’d keep it dead simple!
Prerequisites#
You’ll need the latest version of Visual Studio 2019 or Visual Studio Code and I think you can probably follow along if you’re using JetBrains Rider too.
Make sure you have the latest version of .NET Core 2.x or 3.x SDK installed (either will work). If you have VS 2019 the SDK should already be installed for you, if not, go grab it here.
We can’t get very far without a project so if you haven’t already, create a new .net core React project now…
If you’re using Visual Studio, use the ASP.NET Core Web Application project template…
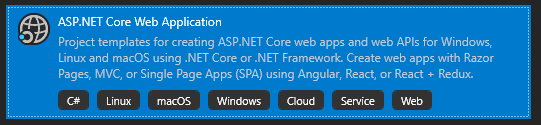
Choose a folder location etc. then, when prompted, select React.js as the web application type.

Leave the other settings as the are (make sure you have No Authentication selected) and you should be good to go.
Alternatively, you can also create this project via the command line…
dotnet new reactThis will create the new project in whichever folder you’re in when you run the command…
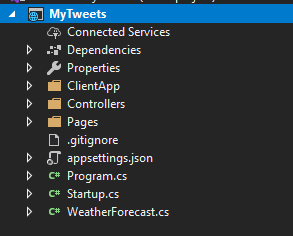
I called my project “MyTweets”…
You should end up with a project which looks like this…
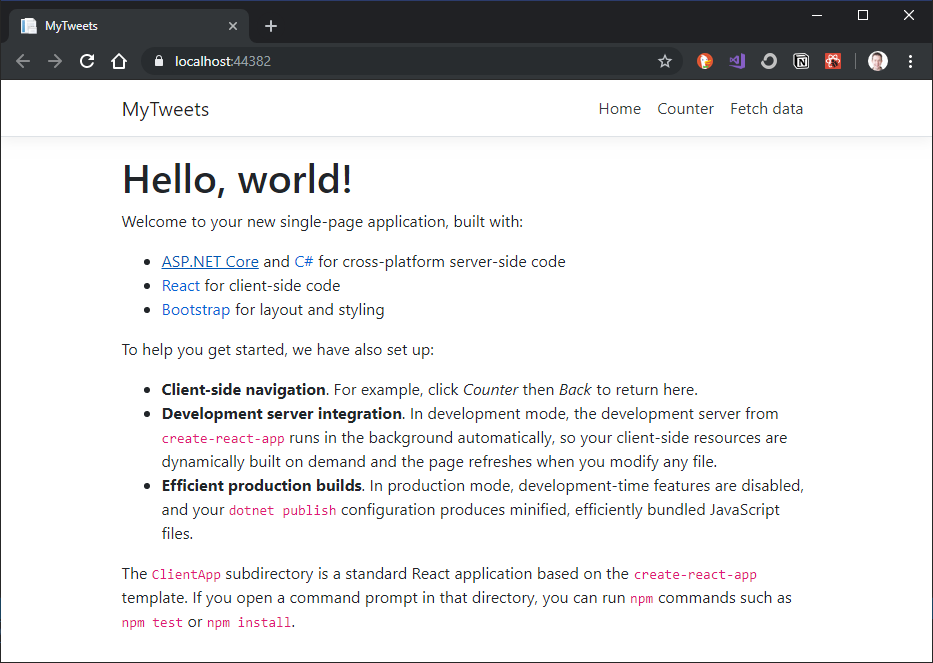
Run this now and you’ll get the starter project running in your browser.
What is React really for?#
React.js is a UI library.
The word “Library” is important here; the React team would point out it isn’t a “framework”.
You won’t get dependency injection, custom controls or routing “out of the box”.
But you do get a really handy toolkit for managing the state of your user interface.
There may be a little bit of logic in your React components, but this is presentation logic (show this, hide that) not business logic.
Your business logic lives elsewhere.
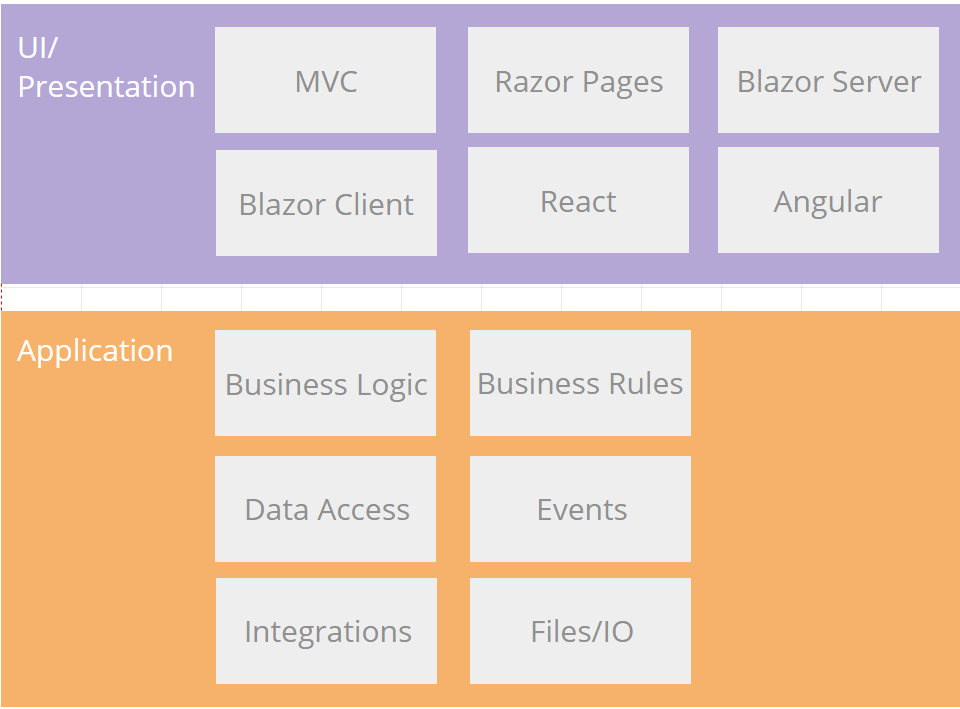
This is good news! It means, once you master how to build your application reliably, using clean architecture that adapts and scales, you’re free to try different UI options without breaking your business logic every time a hot new JS framework comes along.
A Simple Tweet UI#
OK, let’s start with the user interface for MyTweets.
We could do this the other way round (model the backend first) but there’s something quite pleasing about seeing the interface materialise before your eyes so we’ll start there, then think about modelling the backend once we have a better idea what we’re aiming for.
A list of tweets#
First up, we want a really simple list of tweets.
In this case a tweet is going to simply be the tweet’s contents (text).
If you look at your new React ClientApp folder you’ll notice a subfolder called src. Inside here you’ll find a components folder.
Add a new directory to this called Tweets.
Add a new javascript file to this Tweets folder (in Visual Studio you can click Add Item, or just create a file with a .js extension).
Call this new component List.js.
Now, to turn this into a React component, we need to add the following boilerplate.
import React from 'react';
export default class List extends React.Component {    render() {        return (<h1>Hello world</h1>);    }}
That’s it; your first component!
This is about as simple as a React component can get; we’ve got a javascript class which extends React.Component and exposes a render method.
The render method is responsible for, well, rendering our user interface; in this case a simple heading which says “Hello World”.
But wait a minute, we’ve created a nice simple component, but until it’s rendered somewhere we have no way to see it in action.
To remedy that we can turn our component into a “page” and make it possible to route directly to it; for example, by navigating to http://<your-app-here>/tweets.
Head over to App.js and you’ll find this render method…
render() { return ( <Layout> <Route exact path='/' component={Home} /> <Route path='/counter' component={Counter} /> <Route path='/fetch-data' component={FetchData} /> </Layout> );}Every path mentioned here is configured to render a specific component. So if you navigate to /counter in your application you’ll end up seeing the Counter component and so on…
Let’s add a route for our tweets list…
render() { return ( <Layout> <Route exact path='/' component={Home} /> <Route path='/counter' component={Counter} /> <Route path='/fetch-data' component={FetchData} /> <Route path='/tweets' component={List} /> </Layout> );}React won’t magically know where our component lives (in the components/Tweets folder) so we can give it a helping hand using an import statement.
Add this import statement to the top of App.js.
import List from './components/Tweets/List';With that in place, run your app and navigate to /tweets to see your work come to life in the browser!
Show me some tweets#
Hello World is all well and good, but what about that list of tweets we promised?!
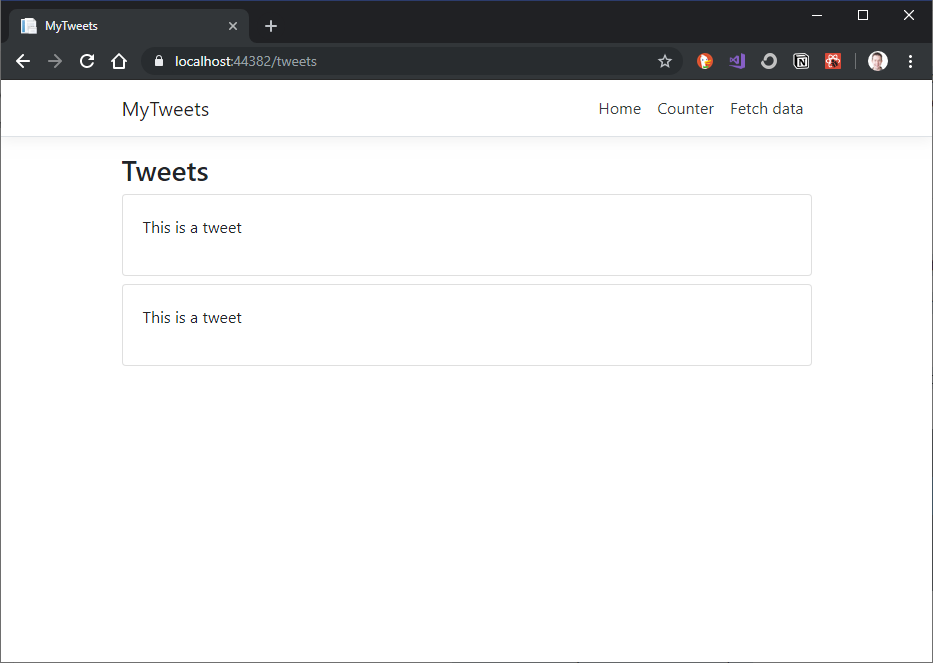
Replace the contents of List.js with the following markup…
import React from 'react';
export default class List extends React.Component {    render() {        return (            <>                <h3>Tweets</h3>
                <div className="card mb-2">                    <p className="card-body">                        This is a tweet                    </p>                </div>                <div className="card mb-2">                    <p className="card-body">                        This is a tweet                    </p>                </div>            </>);    }}
We have some hardcoded duplication for now, but essentially this is the UI we’re aiming for; a list of tweets using Bootstrap’s card styles to render the contents of a tweet.
The React project template includes Bootstrap CSS hence we are able make this look half decent simply by referencing a few CSS classes.
NB: class is a reserved word in javascript and so we have to use className instead whenever we want to specify a CSS class, but otherwise this is pretty much standard HTML.
Test it out in the browser to see how we’re shaping up.
What’s in a component?#
React is all about components.
We’ve made it possible to navigate directly to our Tweet List component using a route, but we could just as easily render it on any other “page” (component) in our application.
Try it now; head over to Home.js and update it to include a reference to our List component.
import React, { Component } from 'react';import List from './Tweets/List';
export class Home extends Component {  static displayName = Home.name;
  render () {    return (      <div>        <p>Hello World - here are some tweets!</p>        <List />      </div>    );  }}
Try running this and navigate to your application’s root URL in the browser…
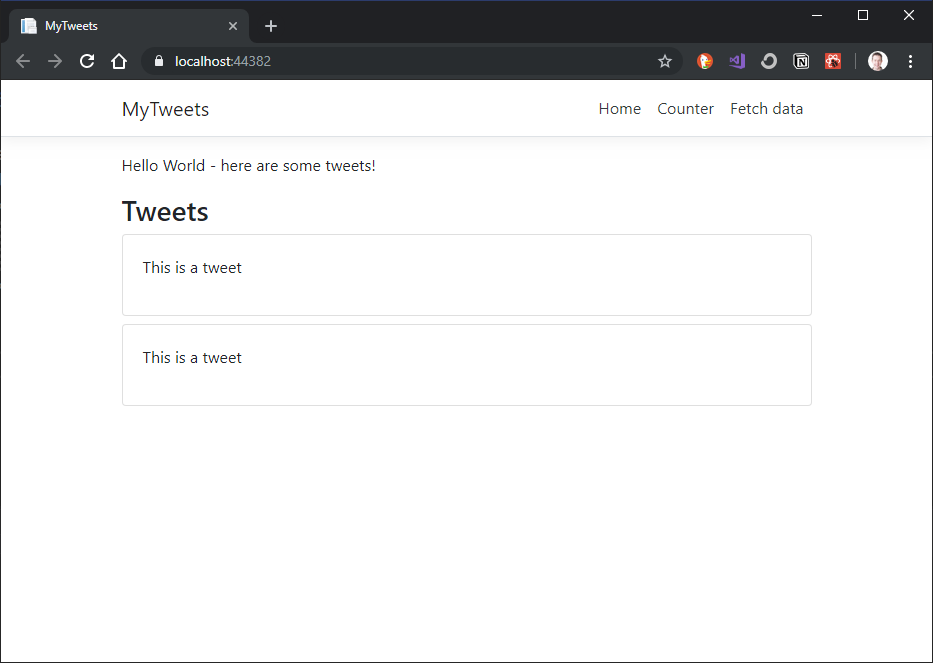
Nice! We have successfully mangled our homepage and crowbarred in a list of tweets!
Who said UI design was hard ;-)
Next up we’ll look at refactoring this component and driving it from state (instead of hardcoded markup).