Configure Redis on Fly.io to handle your Anti-Forgery Tokens in .NET
Fly.IO is a fast, cheap option for hosting ASP.NET web apps.
It’s built to handle scale and makes it easy to spin up multiple instances of your app, running on machines in different regions.
But, if you try to run your ASP.NET web app this way, on multiple machines using Fly.io’s load balancing, you’ll likely run into problems with .NET’s built-in Anti-Forgery protection.
This is because you’ve got multiple machines, all with their own unique keys, handling requests.
Once a user gets a token via one machine there’s no guarantee they’ll reach the same machine when they send the token back (for example, when submitting a form). If the second request goes to a different machine, .NET will fail to validate the token.
The solution is to store the keys centrally, and Redis is one way to do this.
NOTE
Redis is an open-source in-memory data structure store.
It supports various types of data structure such as sets, lists, strings, hashes.
The main value for us here is that it’s very performant, highly available and can be scaled as needed to handle high load.
This guide assumes you’ve already configured your app to run via Fly.io.
If you haven’t already, you can spin up a Redis instance using the Fly CLI.
fly redis create- You’ll be prompted for a name, I called mine
net8demos - Choose a region (make sure this matches the region you chose when deploying your app in an earlier step)
- Choose whether you want to enable auto-eviction
- Choose whether you want replicas in different regions
- Choose your Redis plan
Auto-eviction enables Redis to automatically start evicting old data to make space for new data (when you start to run out of storage).
I enabled it here as it seems useful to clear out space for new data, but the alternative is to select no in which case you’ll get errors once you run out of storage.
You’ll be asked to choose which regions you want to have as replicas for your Redis data.
Redis can, optionally, store additional replicas of your data in different regions. This is important if you’re deploying your app to multiple regions as you may not be able to connect from an app running in one region to your Redis instance running in another.
In this case you can leave all the replica locations unselected and press enter to continue.
Finally you’ll be prompted to size your Redis plan. I chose the lowest (free) plan for now.
With that, after a short time, Fly will tell you your Redis plan has been created.
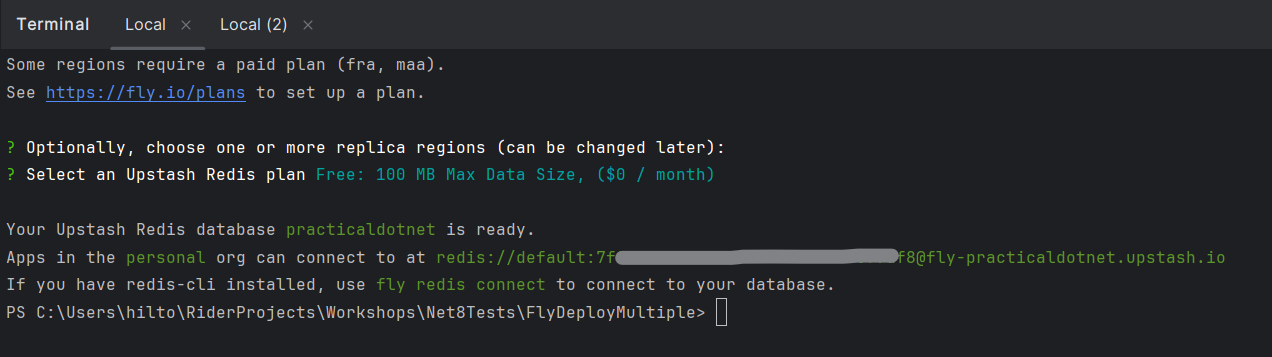
It’s worth copying the connection string shown here (starting with redis://) as you’ll need some parts of that shortly.
Almost there! Now we just need to tell our app to use Redis for storing it’s keys.
Storing keys in Redis requires an additional Nuget package:
dotnet add package Microsoft.AspNetCore.DataProtection.StackExchangeRedis --prereleaseNOTE
Note, there was a bug in previous versions of this package that prevented it working with Fly using standard connection string values. The latest .NET 8 RC release seems to have resolved that problem.
Be aware you may run into errors if you try to use an earlier version of this package with Fly.
With that installed you can configure .NET to use Redis for your data protection keys via program.cs:
using Microsoft.AspNetCore.DataProtection;using StackExchange.Redis;
var builder = WebApplication.CreateBuilder(args);
if (builder.Environment.IsProduction()){    var connectionString = builder.Configuration.GetConnectionString("Redis");    var config = ConfigurationOptions.Parse(connectionString, true);    var conn = ConnectionMultiplexer.Connect(config);    builder.Services.AddDataProtection().PersistKeysToStackExchangeRedis(conn);}
...
Note this isn’t needed, and won’t work, locally - you need a secure connection to the Redis instance which is only available for machines running on the same network.
To set the connection string you need some specific parts of the connection details Fly gave you when your Redis instance was created.
Here’s the format of the connection details from Fly:
<user>:<password>@<host>For .NET to handle the connection we need to take those details and re-arrange them to this:
<host>,password=<password>So in my case something like this:
fly-practicaldotnet.upstash.io,password=XXXXXXXXXXXXXXXXXXXThe easiest way to set this connection string for your Fly-deployed app is via secrets.
Fly makes secrets available to an app during deployment. You can set a secret’s value via the web dashboard, or the CLI…
fly secrets set ConnectionStrings__Redis=<your-connection-string>Either way, once that secret is set, redeploy your app:
fly deployAnd now your AntiForgery tokens should work just fine (with the keys being stored in the Redis instance).
If you’re wondering how you can know if it’s working - You’ll know if it isn’t! If Fly can’t connect to your Redis instance, your app will fail to start.
Check the Fly dashboard for your app -> monitoring and you can see the logs which will point to any issues connecting to Redis.