Use a recursive Blazor component to render a TreeView
I recently ran into a requirement to show a nested list of items in a menu for a “code explorer” component:
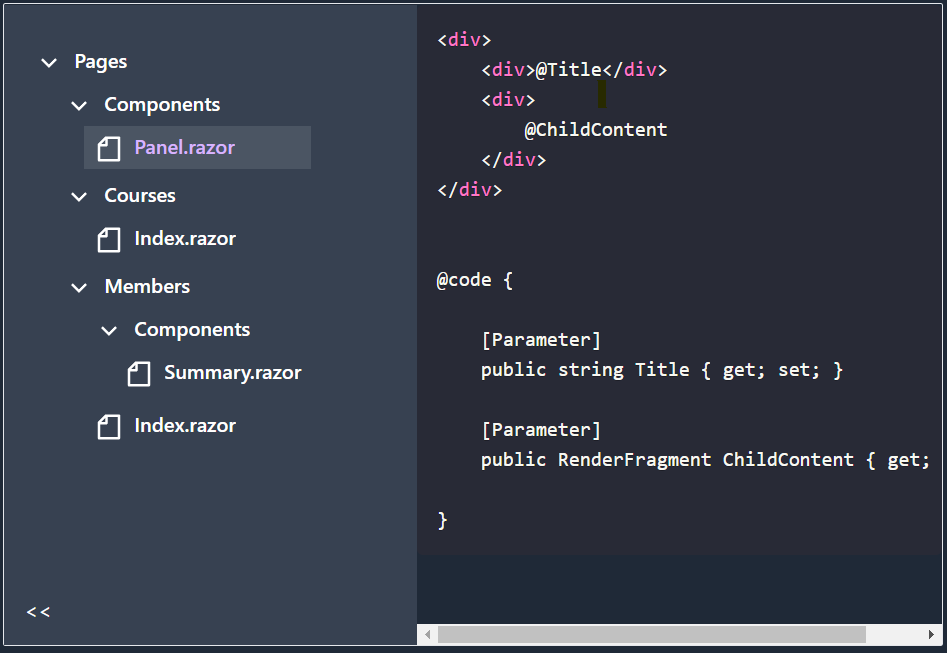
There’s no concrete limit to how deep this list can go (each item can have its own list of items and so on and so forth).
Here’s the data that drives this UI:
public class ExampleFolderDTO{    public NodeDTO RootNode { get; set; }
    public class NodeDTO    {        public string Name { get; set; }        public string Slug { get; set; }
        public List<NodeDTO> Nodes { get; set; } = new();    }}
Notice how each instance of NodeDTO can have its own list of NodeDTO, hence the potentially infinite tree depth.
So how can we render this in Blazor?
Well it turns out Blazor can handle a little bit of recursion, making this relatively straightforward.
First we’ll want a root component, to act as the starting point for the TreeView.
<div> <Node CourseNode="courseDetails.Root" OnNodeSelected="OnNodeSelected"/></div>@code {
private GetCourseResponse courseDetails;
protected override async Task OnInitializedAsync() { courseDetails = await Api.GetCourse(new GetCourseRequest { Course = Course }); }}GetCourseResponse contains the root node (the toppest of the top level nodes!)
public class GetCourseResponse {
    public CourseNodeDTO Root { get; set; }
}
All the magic happens in the Node component.
Node.razor
<Button @onclick="() => OnNodeSelected.InvokeAsync(CourseNode)">    @CourseNode.Name</Button>
<ul class="ml-6">    @foreach (var node in CourseNode.Nodes)    {        <li class="list-none">            <Node CourseNode="@node" OnNodeSelected="@OnNodeSelected"/>        </li>    }</ul>
@code {
[Parameter, EditorRequired] public GetCourseResponse.CourseNodeDTO CourseNode { get; set; }
[Parameter] public EventCallback<GetCourseResponse.CourseNodeDTO> OnNodeSelected { get; set; }
}The first step is to render the UI for the current node (in this case, a button).
The next step is to loop over each of the sub nodes and render instances of the Node component for each one.
NOTE
Make sure you forward any parameters along to the nested Node components:
@foreach (var node in CourseNode.Nodes){ <li class="list-none"> <Node CourseNode="@node" OnNodeSelected="@OnNodeSelected"/> </li>}If you forgot to set the CourseNode and OnNodeSelected parameters here, children of this node won’t have the data or event callbacks they need to function properly.
With that, we have a potentially infinite depth Tree View component.
From here we can extend this to handle things like showing different icons for different node types, simply by making changes to that Node component.
Your skills aren't becoming obsolete. They're becoming essential.
Practical engineering principles for building software that works - with or without AI.