Login & Authentication for your ASP.NET Core Web API – The Big Picture
You’re building an ASP.NET Core Web API which is primarily going to serve a Single Page Application (Angular, ReactJS or something else) and/or other clients.
You realise that you need to make your API secure. If you don’t, it won’t take much effort for someone to start poking around, doing whatever they like to your data.
It’s surprisingly difficult to find good resources on login/authentication when using a SPA backed by ASP.NET Core. This is compounded by all the terminology that comes with this topic.
So before we get bogged down in the nitty gritty details of JWT, Bearer Tokens, Microsoft Identity and Identity Server, let’s go back to basics and discover what’s involved in securing your API.
Insecure by default#
First up, why can’t you just go ahead and deploy your Web API?
Well you can, technically, but you’ll be leaving your API open to literally anyone who fancies a play with it.
For example, I can create a new .NET Core Web API project and start it with this command.
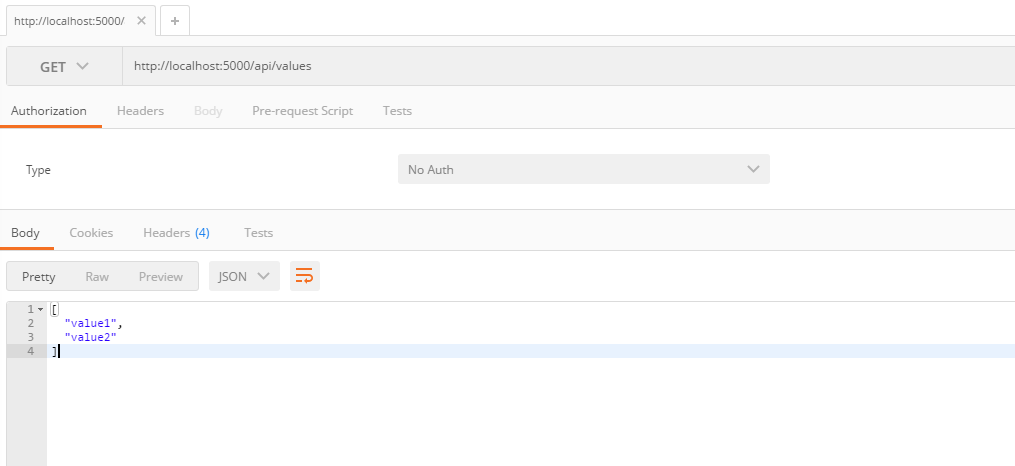
dotnet new webapidotnet restoredotnet runNow if I navigate to http://localhost:5000/api/values in a browser, I can call the API and see my data.
But what about other clients? Can anyone else access this API?
Well, yes. If I open up Postman and call my API, it works fine too.
So far, so obvious (but worth stating nonetheless).
So what can we do to lock this API down? There’s a few things to consider.
Authentication and Authorization#
If your web app includes the ability (or requirement) for users to log in (to see their own data, customised pages etc.) then you’re dealing with authentication.
Authentication is the process of determining whether someone or something is, in fact, who or what it is declared to be.
http://searchsecurity.techtarget.com/definition/authentication
It’s easy to conflate this with Authorization but the two are subtly different. With Authentication you’re explicitly checking the identity of the user, are they who they say they are? Often this is followed by Authorization where that person is then granted access to your app (or a part of your app).
Authentication in the real world#

Take your front-door. Most of us have a simple lock on our door which requires a key to access it.
This key (and lock) has no idea who is handling it.
The lock provides access to anyone with a key (including the would-be burglar who just found your spare key under the plant-pot by the front-door).
Anyone holding the key is consequently granted access to your house but they were never authenticated as the person with rightful access (tenant, home-owner etc.)
If on the other hand, you fancy yourself as a bit of a James Bond type and have installed a fingerprint scanner, it will check any would-be intruder’s identity before granting access. If they’re “on the list” then they are authenticated and granted access to your home (authorized).
Authentication in your Application#
So what’s the equivalent of a fingerprint scanner when it comes to your web application?
Well you’re going to need some way of verifying your user is who they claim to be. For that you’ll typically use some sort of authorization server, a trusted authority which can vouch for your users and provide a token which grants access to your app.
Typically this works as follows.
Someone tries to access a secure part of your web site.
They are not currently known to your app (not logged in) so your app redirects them to your chosen authority (authorization server) which will prompt them to identify themselves.
Usually this will involve them entering a username/password.
Once the authorization server is happy that your user is who they claim to be, it will issue a token and redirect them back to your app.
Now their identity is known, your app will store the information about their identity (typically passed to and from the browser via a secure cookie).
If asked to serve a restricted resource, your app will check the authorization token and grant access if it’s happy that the token is legitimate and entitles the user to the specified resource.
Authorization Server Options (Identity Servers)#
Which brings us on to the all important question of which authorization server to use?
Well you have a few choices here. You can lean on a hosted option such as Auth0, set up your own using Identity Server 4 or let Google handle it all for you.
Here’s a few options for starters.
Each of these will perform a similar task, that of requesting your user to log in, then issuing a token that grants them access to secure areas of your app.
In Summary#
Now we’ve looked at the big picture, our next step will be to use Google OAuth 2.0 to authenticate users and give them access to a secure area of our API.
You might think this is a big job, but it takes less code than you might think.
photo credits:
janetbland Locks via photopin (license)
Accretion Disc Locked Door via photopin (license)_
Your skills aren't becoming obsolete. They're becoming essential.
Practical engineering principles for building software that works - with or without AI.